The plan, step by step
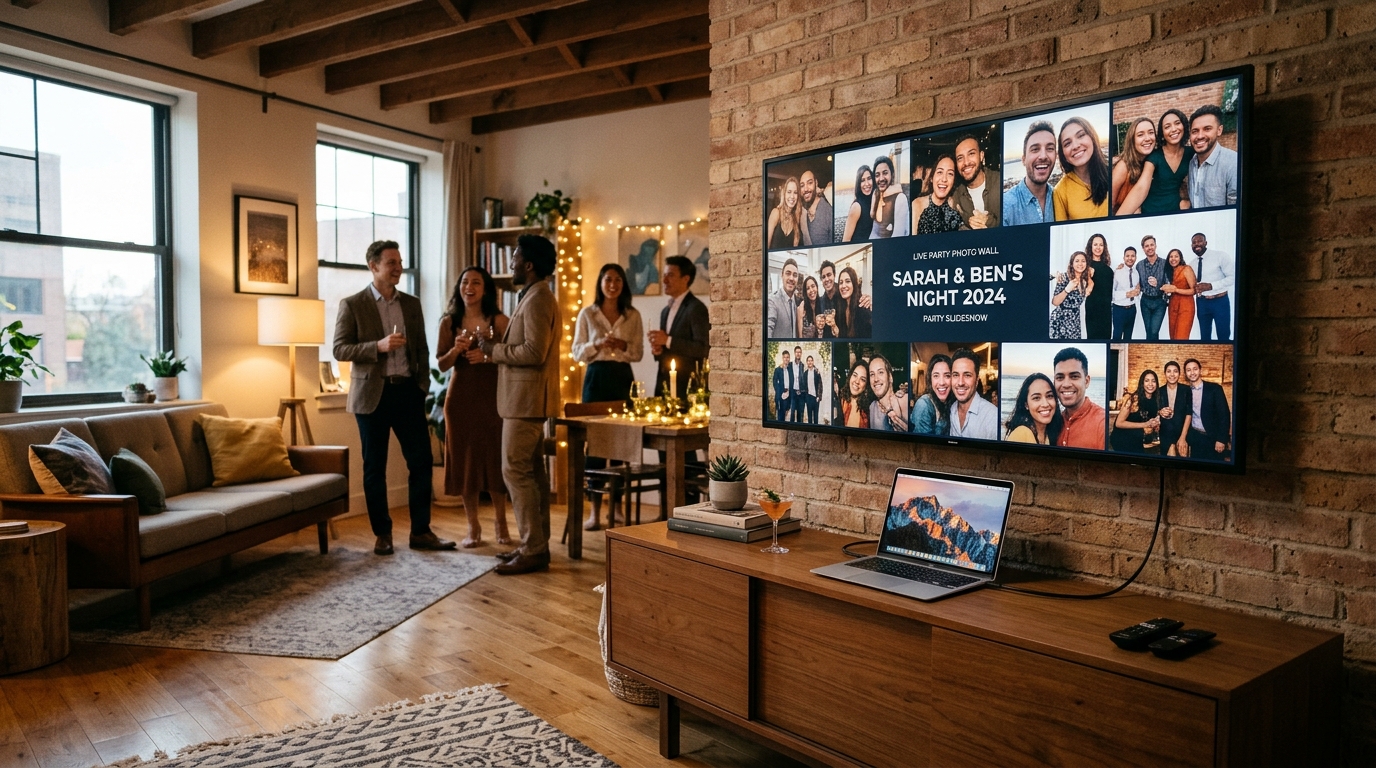
Set up the video connection. Connect your laptop to the TV or projector using an HDMI cable, or pair your casting device (Chromecast or Apple TV) to the same high-speed 5 GHz Wi-Fi network.
Disable screen sleep and power-saving modes. Adjust your laptop energy preferences to keep the screen active indefinitely when plugged in, and turn off eco auto-power-off in the TV settings.
Launch the Live Wall in full-screen mode. Open your event Live Wall URL in the browser, log in with your host PIN if required, and press F11 (or Cmd+Shift+F on Mac) to hide all browser tabs and toolbars.
Position the QR code and test an upload. Check that the on-screen corner QR code is clearly visible from across the room, snap a quick test photo on your smartphone to confirm it appears instantly, and let it run all night.
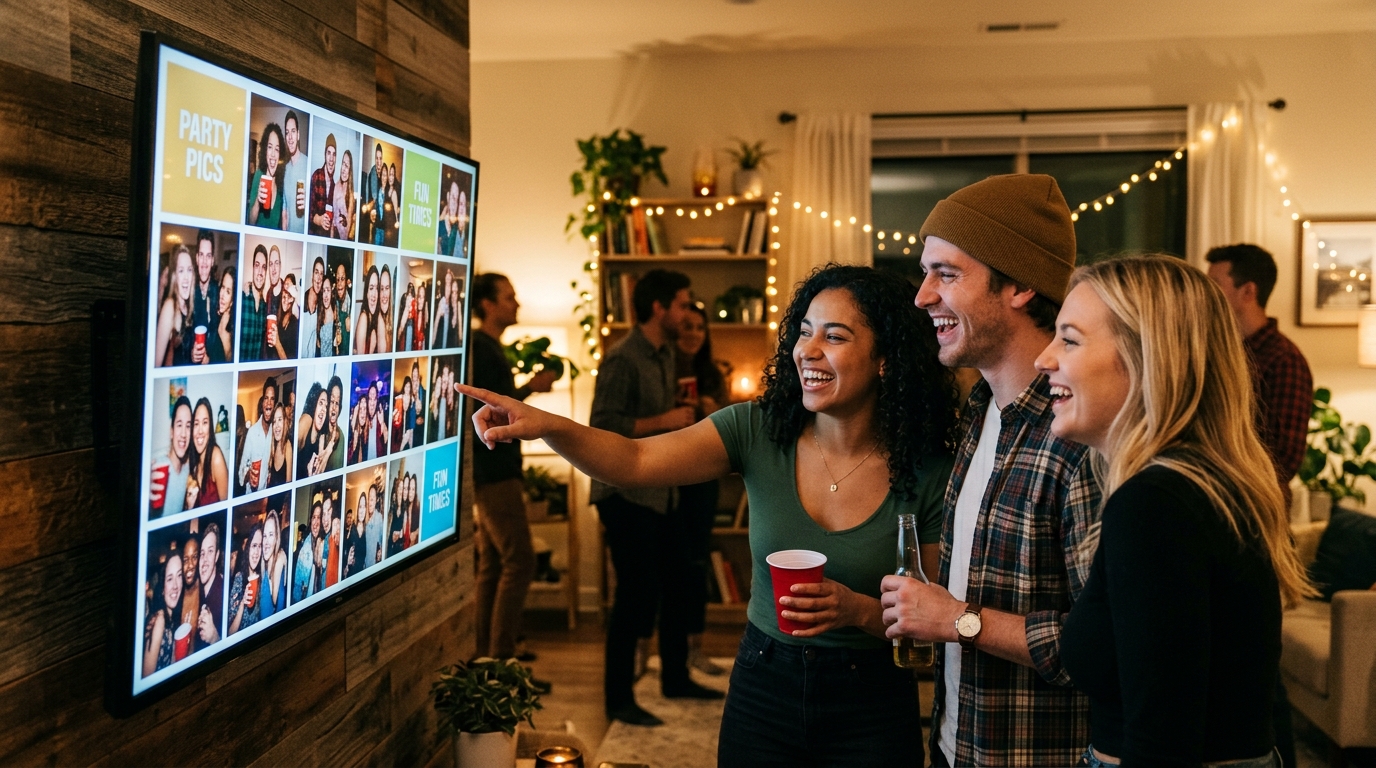
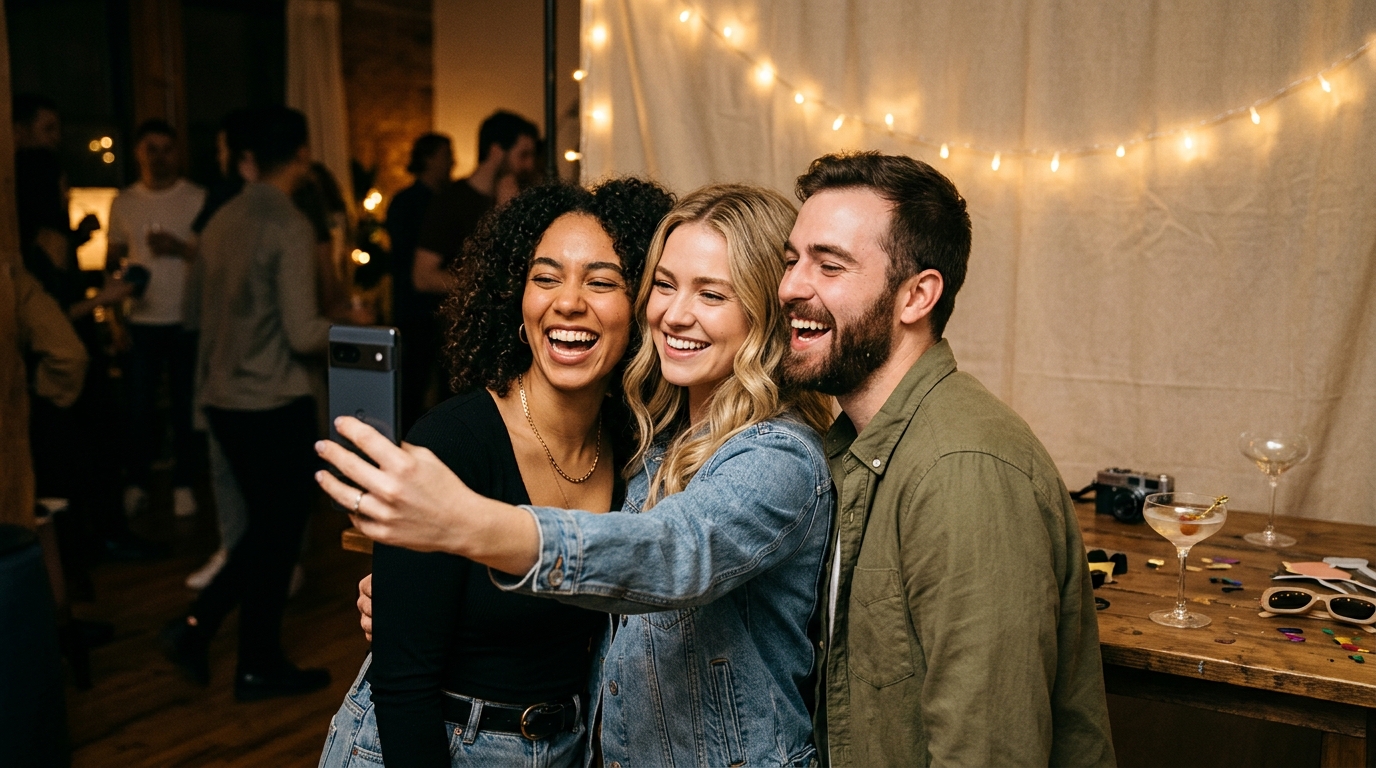
Watching candid party snaps and guest selfies appear on a big screen in real time instantly energizes any gathering. Whether it is a milestone birthday, an anniversary, a casual house party, or a corporate celebration, a Live Wall gives everyone a shared focal point: guests love spotting themselves on screen, and shy attendees get inspired to snap creative pictures knowing they will light up the room.
However, nothing dampens the mood faster than a laptop display falling asleep during speeches, an HDMI cable missing an adapter, or a wireless casting stream stuttering due to overloaded venue Wi-Fi.
This practical guide breaks down exactly how to connect and configure your live photo wall on a TV or projector so your display runs smoothly from the first drink to the last dance.
Direct HDMI cable vs. wireless casting: which should you choose?
When hosting an event with dozens of guests carrying smartphones, network conditions change rapidly. Here is how the two primary setup methods compare:
1. Direct HDMI cable (the gold standard)
Plugging a physical HDMI cable directly from your laptop into the television or projector input remains the industry standard for event production:
- Zero latency: new uploads appear smoothly without streaming lag or buffering pauses.
- Immunity to network congestion: even if fifty guests jump on the venue Wi-Fi at once to upload videos and photos, the video feed between your laptop and TV never hiccups.
- Safety tip: secure the cable along the floor and skirting boards using heavy-duty gaffer tape to prevent tripping hazards. Always pack a USB-C to HDMI (or Lightning to HDMI) adapter in your event bag.
2. Wireless casting (Chromecast, Apple TV, or Miracast)
If your TV is wall-mounted without reachable ports or the projector hangs high from a ceiling rig, wireless casting offers a tidy cord-free alternative:
- With Google Chromecast, launch Chrome on your laptop, click the three-dot menu, and choose Cast tab to your television.
- With Apple TV, use macOS or iOS AirPlay 2 screen mirroring to project the browser window.
- Golden rule for wireless: avoid the 2.4 GHz Wi-Fi band. With dozens of guest smartphones searching for connections, 2.4 GHz quickly clogs up with packet loss. Stick to a dedicated 5 GHz network or a private mobile hotspot reserved strictly for the display laptop.
How to stop your screen from going black during the party
A screen that suddenly goes to sleep or displays a system lock screen ruins the atmosphere. Prevent interruptions with these three simple checks:
- Laptop power settings: open your operating system settings and set screen timeout and sleep to Never when plugged into AC power. Keep the laptop connected to mains power throughout the evening—never rely solely on battery power.
- TV eco and auto-standby settings: modern smart TVs feature automatic energy-saving timers designed to power down the screen if no remote control button has been pressed for two to four hours. Navigate to Settings > General > Eco / Power Saving and toggle Auto Power Off completely off.
- Keep-awake utilities: if you are running the wall from a managed work laptop with locked sleep settings, install a lightweight utility like Amphetamine (Mac) or Caffeine (Windows) to keep your screen awake with a single click.
Display options: TV screen vs. video projector
| Setup method | Best venue environment | Key benefits | Watch-outs |
|---|---|---|---|
| Direct HDMI cable | Any indoor or outdoor party venue | Bulletproof stability, zero lag, independent of Wi-Fi | Requires physical cord and adapter, must tape down cable |
| Chromecast / Google TV | Wall-mounted TVs or remote screens | Clean cord-free setup, cast directly from Chrome | Needs strong 5 GHz Wi-Fi, minor 1–2 second streaming delay |
| Apple TV / AirPlay | Modern venues with Apple ecosystem | Native display quality, quick pairing from Mac | Disconnects if laptop lid closes or screen locks |
| Built-in TV web browser | Emergency backup without laptop | No external hardware needed | Clunky remote navigation, browser often slow or outdated |
If you opt for a projector instead of a TV, pay close attention to ANSI lumens:
- Dim indoor rooms or dance floors: a projector rated between 2,000 and 2,800 ANSI lumens delivers punchy, crisp imagery on a clean white wall or pull-up screen.
- Bright rooms or daytime ambient light: look for 3,500 to 5,000 ANSI lumens so guest photos do not look washed out or gray.
- Aim your projector at a smooth, matte white surface at least 1.8 meters (6 feet) off the floor so guests standing in front do not block the beam.
Running in full-screen mode with JoinTheFun
To create an elevated, high-production atmosphere, avoid showing browser navigation bars, bookmarks, or system taskbars.
Setting up with our live photo wall guide takes less than two minutes:
- Open the unique Live Wall link generated in your organizer dashboard (or enter your event quick-PIN).
- Press F11 on Windows or Cmd + Shift + F on Mac to switch instantly into distraction-free full-screen mode.
- The wall automatically arranges uploaded photos, candid snapshots, and voice guestbook clips into an elegant, animated layout designed specifically for large displays.
- A discreet, high-contrast QR code is pinned in the corner with a clear prompt: Scan to share your photos, giving guests a frictionless way to participate without requiring apps or account sign-ups.
Review all plan capabilities on our pricing and plans page: the Live Wall is included on our Free plan (0 € for up to 50 photos and 30-day storage), while the PARTY (29 €) and PARTY+ (49 €) plans provide up to 250 GB of storage, full-resolution original downloads, and extended retention to keep every memory safe long after the party ends.
Quick questions
What is the most reliable way to connect a live photo wall to a TV or projector?
A direct HDMI cable connection from a laptop is by far the most stable method: it eliminates Wi-Fi drops, remains unaffected by mobile phone congestion in the room, and ensures instant, lag-free photo rendering.
How do I stop the laptop or TV screen from going to sleep during the party?
On Windows, set 'Turn off screen: Never' in Power & sleep settings; on Mac, disable display sleep in System Settings or use a utility like Amphetamine. On the TV itself, disable the auto-standby and eco power-saving timer in the settings menu.
Can I cast the Live Wall wirelessly using Chromecast or Apple TV?
Yes. You can cast a Google Chrome browser tab to Chromecast or mirror your screen using Apple AirPlay 2. To keep the stream smooth and avoid buffering, connect your devices to a fast 5 GHz Wi-Fi network rather than an overcrowded 2.4 GHz channel.
How many lumens does a projector need for an indoor or outdoor party?
For an indoor venue with dim, ambient party lighting, 2,500 to 3,000 ANSI lumens is ideal. For rooms with ambient light or outdoor evening setups at dusk, aim for at least 4,000 to 5,000 ANSI lumens to maintain punchy colors and clear contrast.
Do I need to install an app on the smart TV or streaming box to run the Live Wall?
No installation is required. JoinTheFun runs directly in any modern full-screen web browser using a secure link or quick-access event PIN, updating automatically over the cloud.
What happens if dozens of guests upload photos at the exact same moment?
The cloud server automatically handles processing, image optimization, and safe delivery in real time via Server-Sent Events, so the display never slows down or freezes under heavy guest uploads.